
What to Inspect After a Summer of Towing
Late August in Kent is the last reliable dry stretch you'll get for months. The first sustained Pacific Northwest rains typically push in around October, and once they arrive you won't get a real dry window again until spring. That timing matters for your rig. Right now is the best possible moment to get eyes and hands on four systems that a full summer of towing has quietly worn down. Catch them now and fall camping stays on schedule. Miss them and you're looking at water intrusion, a tire failure, or a bearing seizure that turns a weekend trip into a roadside situation.
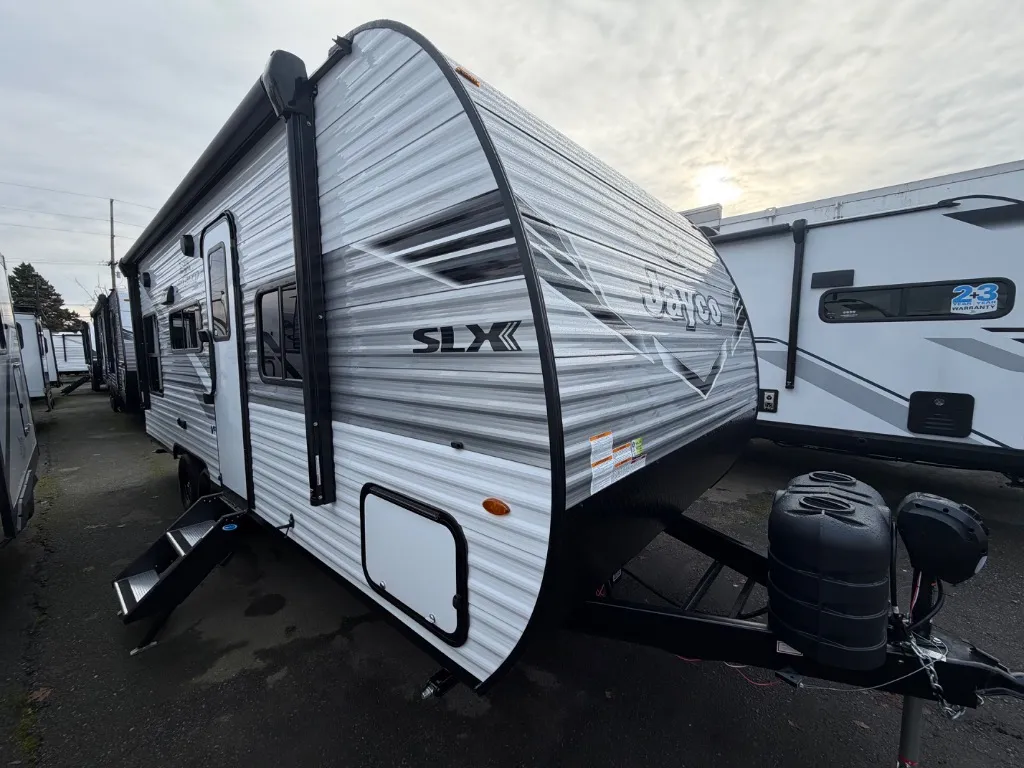
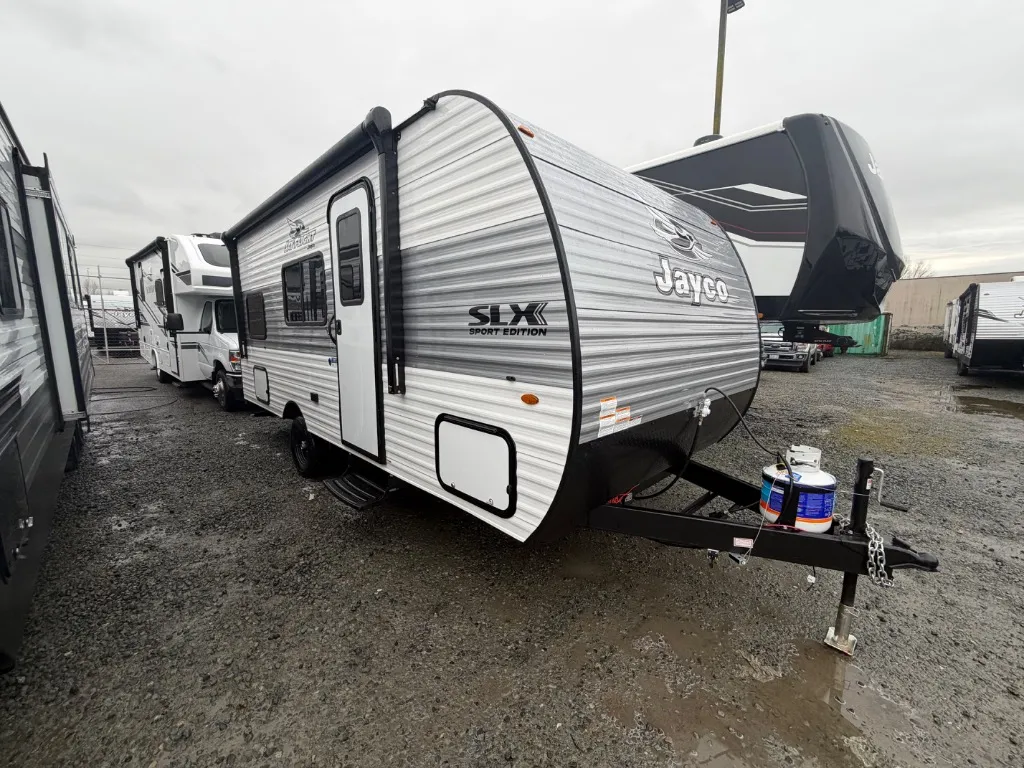
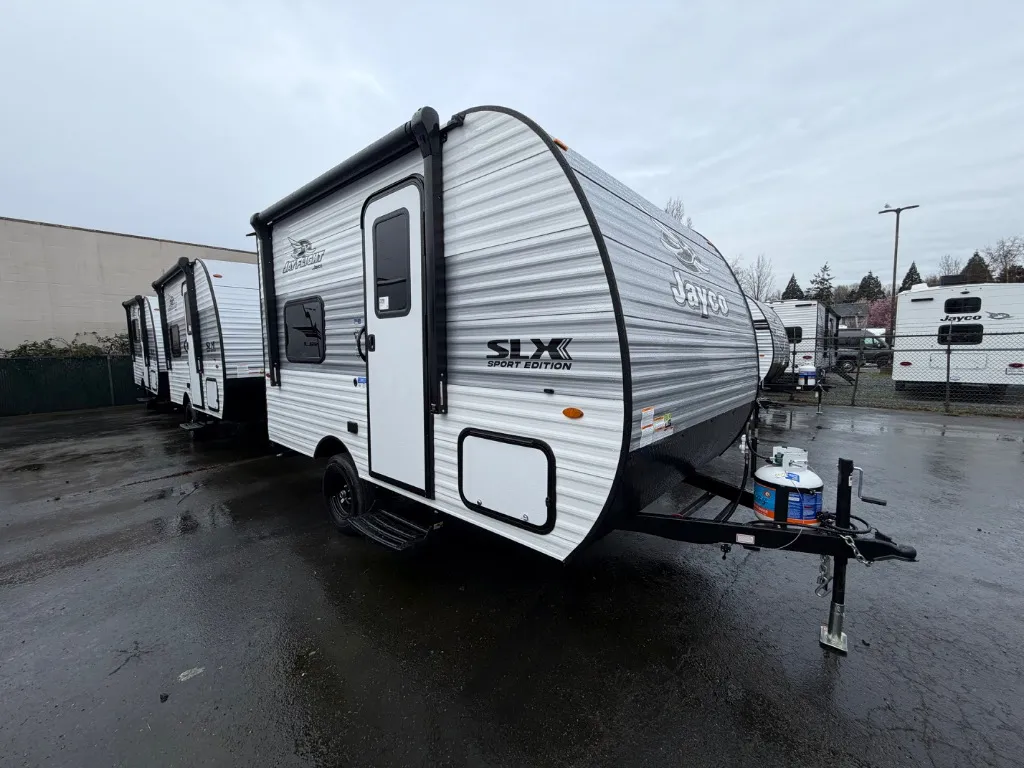
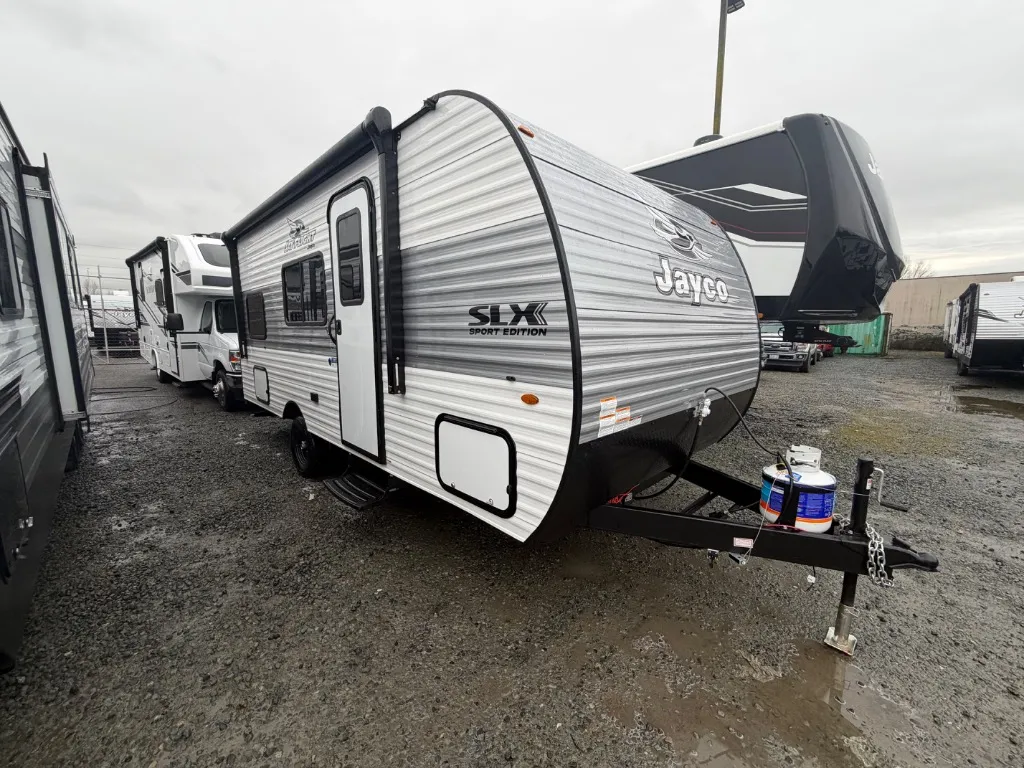
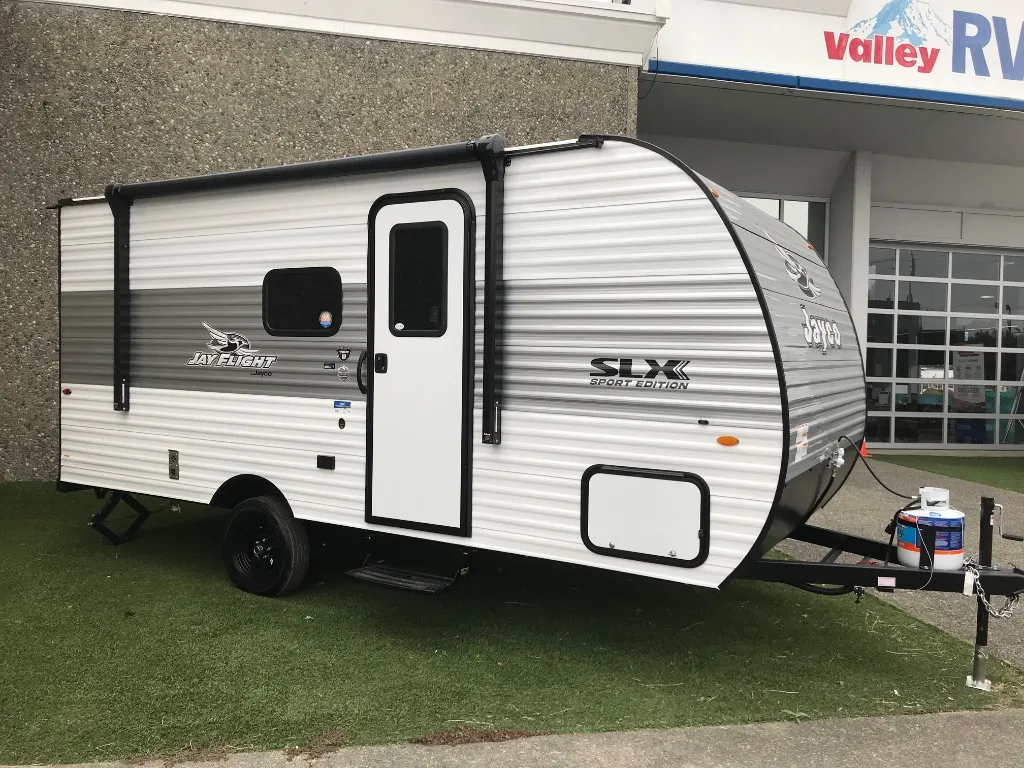
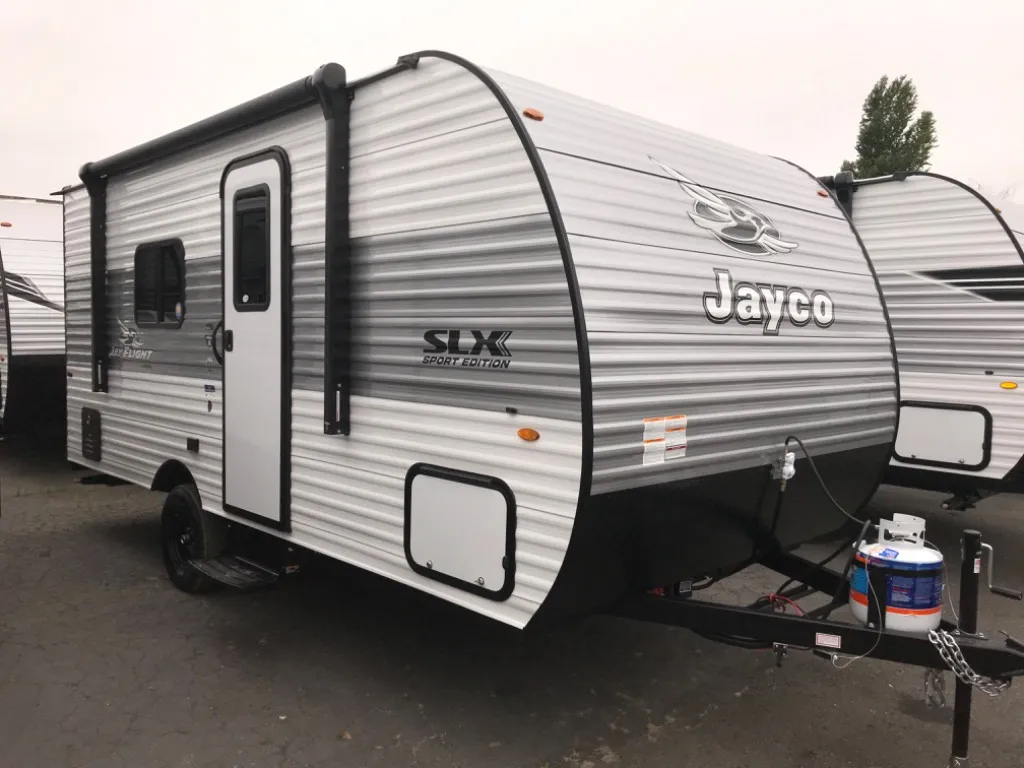
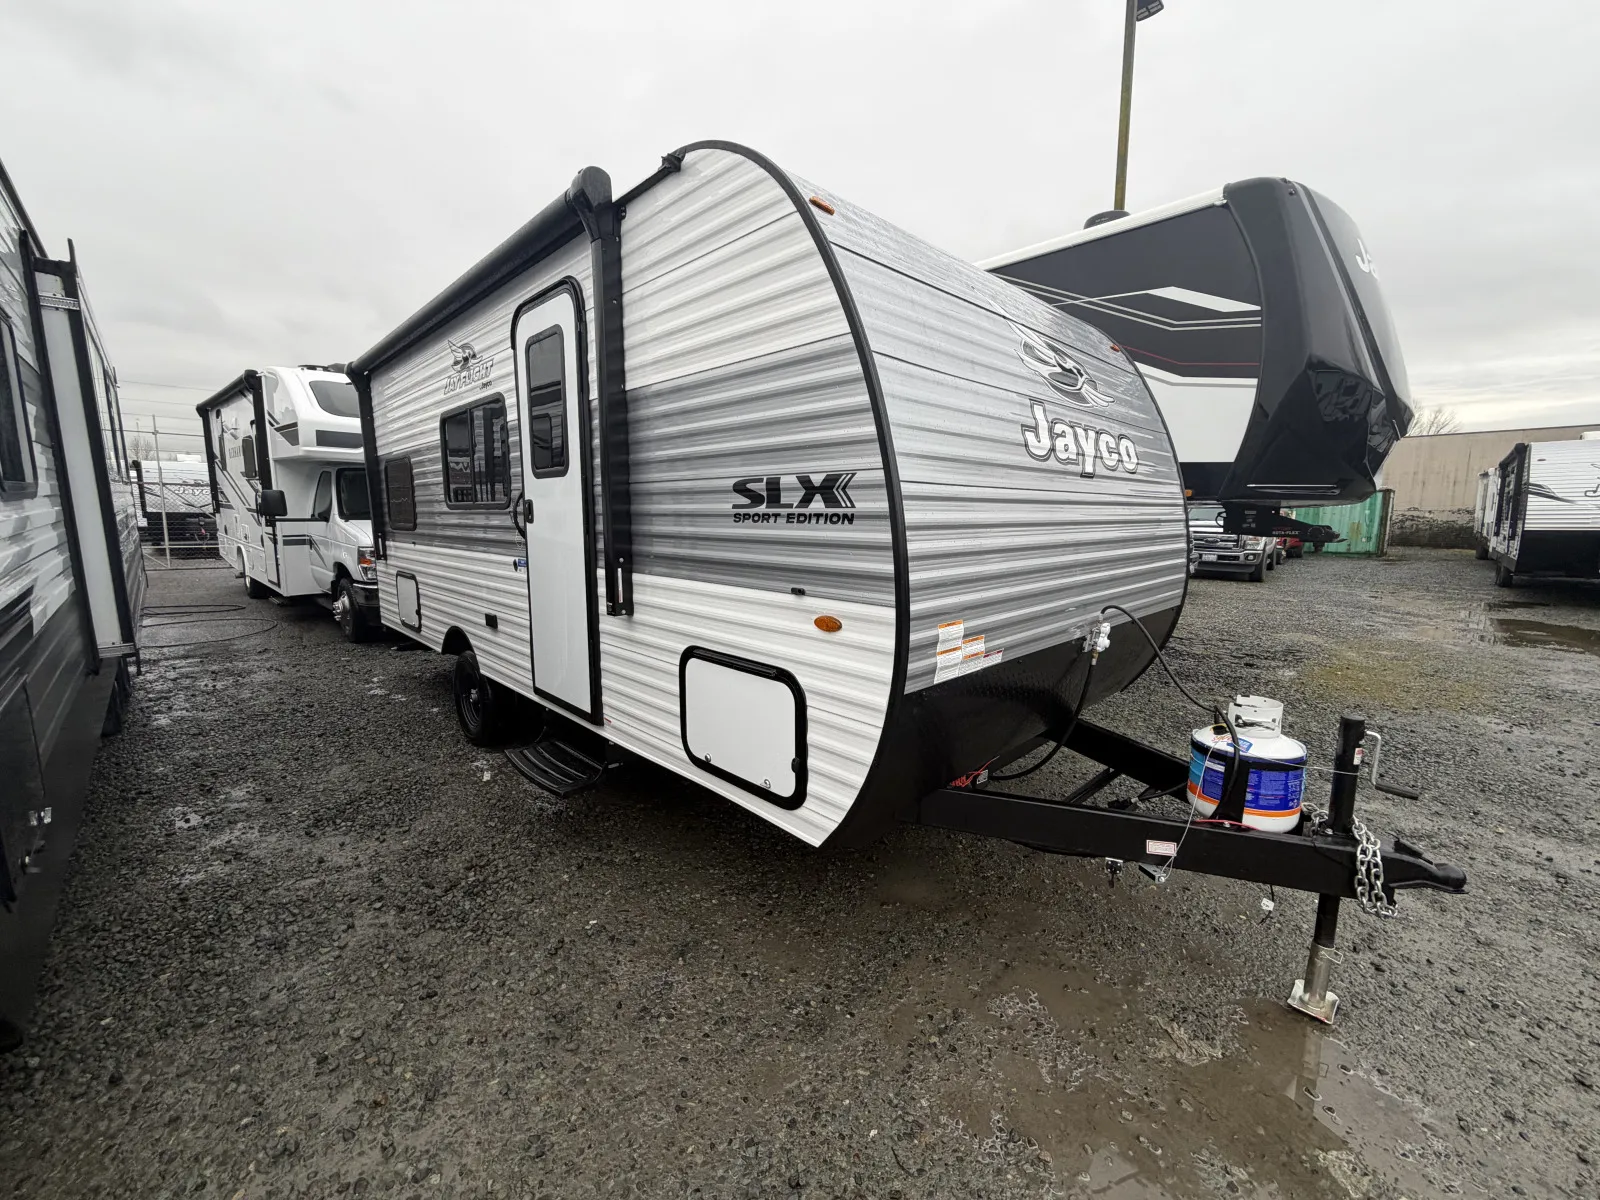
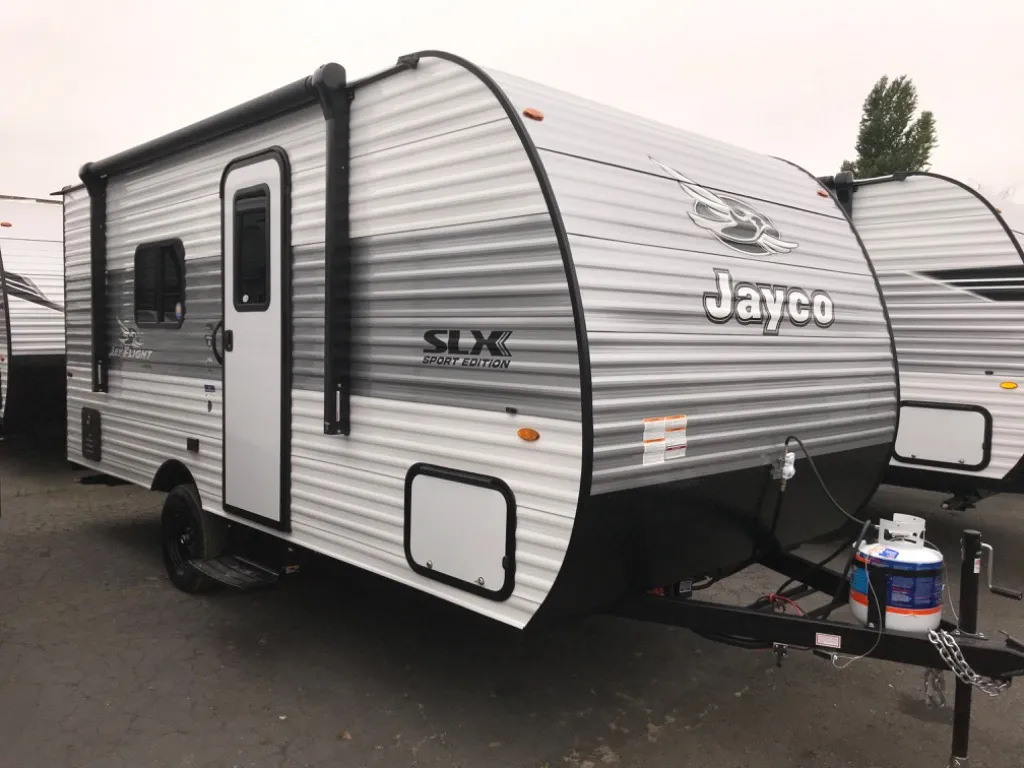
Jayco Jay-Flight travel trailers are built for exactly this kind of hard use, but no towable is maintenance-free after a season on the road.
The Summer-Towing Do / Don't Table
| System | Do | Don't |
|---|---|---|
| Tires | Read the four-digit DOT date code on the inboard sidewall; replace at 5-6 years regardless of tread | Rely on tread depth alone (a tire can look brand-new and be structurally compromised internally) |
| Roof sealant | Walk the roof and press a fingertip into each seam at vents, skylights, and the AC base; brittle or crumbling sealant needs replacement now while days are still dry | Apply new sealant over dirt or old failing material. Clean, remove, and match the product to your roof membrane type |
| Hitch and coupler | Inspect the ball for grooves, pitting, or flat spots; check that the coupler jaw closes snugly with no perceptible play | Assume the connection is fine because last trip felt smooth (a worn coupler can pass one season and fail on the next haul) |
| Wheel bearings and brakes | Jack each corner and rock the tire at 12 and 6 o'clock; any detectable play means bearing service is due; inspect brake magnet face for grooving at the same time | Skip this because you didn't notice heat or noise (bearing wear is not audible until failure is close) |
The One Step That Changes Everything: Check the Tires From the Inboard Side
Trailer tires and car tires wear out for completely different reasons, so the inboard-facing sidewall is the one reading worth chasing down before fall, because a trailer tire can degrade from the inside out even when the tread still looks factory-fresh and the mileage on it is low. Your pickup's rubber wears through tread and you replace it. A Special Trailer (ST) tire does something different. It sits parked under load for most of its life, baking in UV and reacting with atmospheric ozone while the antiozonant compounds in the rubber slowly break down. UV, ozone, and heat cycles attack the rubber compound and internal belt adhesion regardless of how many miles the tire has rolled. A tire that looks solid from three feet away can carry real structural damage inside the sidewall.
The date code you need is a four-digit number at the end of the DOT string, and it's often molded only on the inboard-facing sidewall. You may need a flashlight and to partially lift the trailer to read it. The first two digits are the week, the last two the year of manufacture. If that number puts your tires past five to six years old, they're in the replacement window no matter what the tread tells you. Trailer tire experts and axle manufacturers consistently use five to six years as the service limit for trailer-specific tires, because static parking and repeated summer heat cycles accelerate internal degradation faster than mileage does.
Our service team is always glad to read those codes and give you a straight answer on where your tires stand. We handle both in one visit.
Jayco Eagle fifth wheel owners should check both axles, including the spare mounted underneath, which ages on the same schedule as the road tires and is often overlooked entirely.
Your Roof Sealant Will Not Warn You Before It Fails
Roof leaks don't announce themselves the day the sealant first fails, and that delay is exactly the problem, because by the time a brown ceiling stain or a soft wall panel shows up, water has already been working its way into the substrate for weeks. Summer UV and heat cycling accelerate sealant degradation faster than any other season, causing cracking, shrinkage, and gaps to develop around seams and penetrations like vents, skylights, and AC unit bases.
In the Pacific Northwest the added variable is moisture. Once October rains arrive, seam integrity matters far more than it does in a dry climate, and roof-safe sealants need five to seven dry days to cure fully after application.
That window is closing. If you're going to reseal anything, do it now, while the days still hold.
Walk the roof safely and press a fingertip firmly into every seam and every spot where something penetrates the surface. Sealant that looks intact but crumbles or doesn't spring back needs to come off and be replaced with a product matched to your specific roof membrane (rubber EPDM, TPO, and fiberglass each require different formulations, and the wrong product will make the repair fail again faster). After resealing, run a garden hose water test, water across the roof while someone inside watches the ceiling and walls.
Jayco North Point fifth wheel owners with slide-out rooms have additional seam exposure at the slide toppers and the slide room corners (those go on the list too).
Book a Post-Season RV Inspection
A Clean Hitch Is a Safe Hitch
A hitch that felt smooth all summer can still be worn past safe, so start with the ball itself and check for grooves, pitting, or a flat spot that a season of friction has ground in. A grooved or worn ball doesn't necessarily announce itself in the connection feel until the coupler jaw can no longer seat properly. Check the coupler adjustment too. If there's any perceptible rocking or play after latching, the jaw needs tightening, or the ball or coupler itself needs replacing. Clean the receiver tube, lubricate all friction surfaces, and inspect the weld at the receiver for hairline cracks. A crack at a weld isn't a surface issue. Small cracks worsen quickly under load (that's a replacement, not a touch-up).
Does the connector still pass power cleanly? Check the 7-pin connector's pins for corrosion or bending, and confirm brake lights, turn signals, and trailer brake function before any fall trip. Electric trailer brakes depend on that connection to work at all.
Most of this hitch inspection is quick and costs you nothing if you do it yourself. The one part that isn't DIY-friendly for most owners is brake magnet measurement. A worn magnet face that's grooved rather than flat won't pull consistently, which means inconsistent stopping on I-5 or SR-167 with a loaded rig. That's worth a shop visit.
Our service team can handle a full post-season inspection of hitch, bearings, brakes, tires, and roof at a single visit, so you're not making four separate trips before fall camping season starts.