
How to Inspect Slides, Seals, Leveling Systems, and Appliances
Why start in September? Because once October settles into the Kent Valley and the wet season digs in for five-plus months, every small inspection you skipped turns into a bigger repair you're booking in March. The campgrounds don't all close, so plenty of us keep rolling through fall. The walk-around keeps it ready.
We've walked this with plenty of Puget Sound families and retirees, and laziness is rarely the issue. Moisture damage just stays invisible until it isn't. A slide-out seal that starts weeping in November won't show you a soft floor until spring. Four systems, one practical go-around, before the drizzle takes over. So let's walk the rig together.
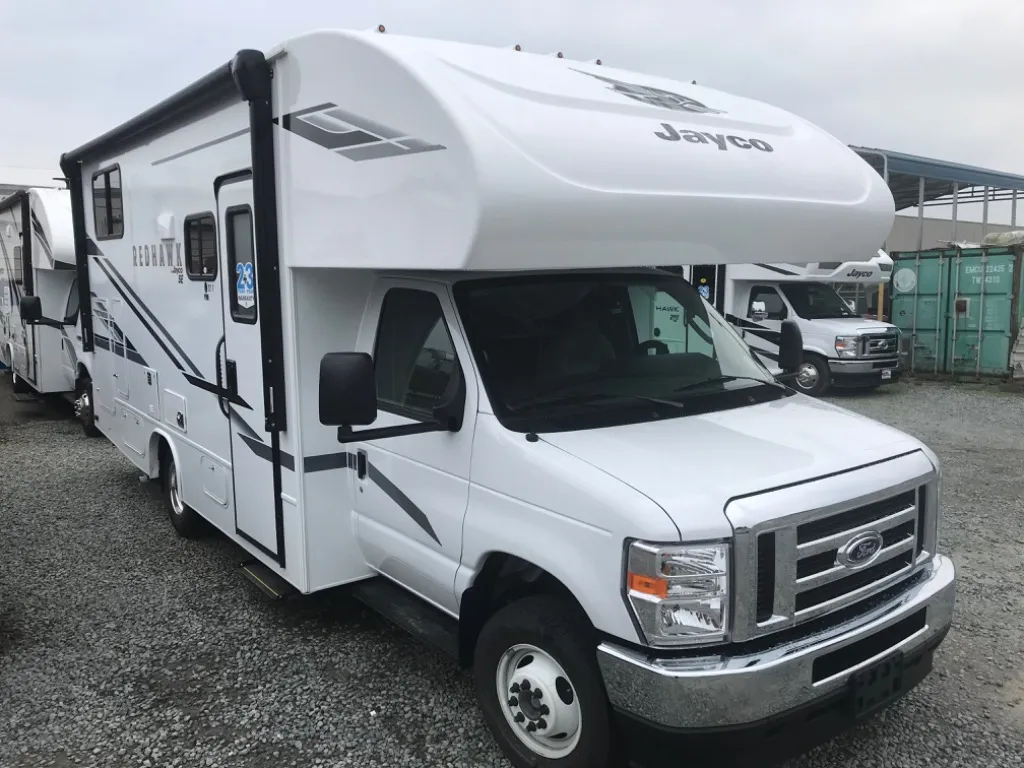
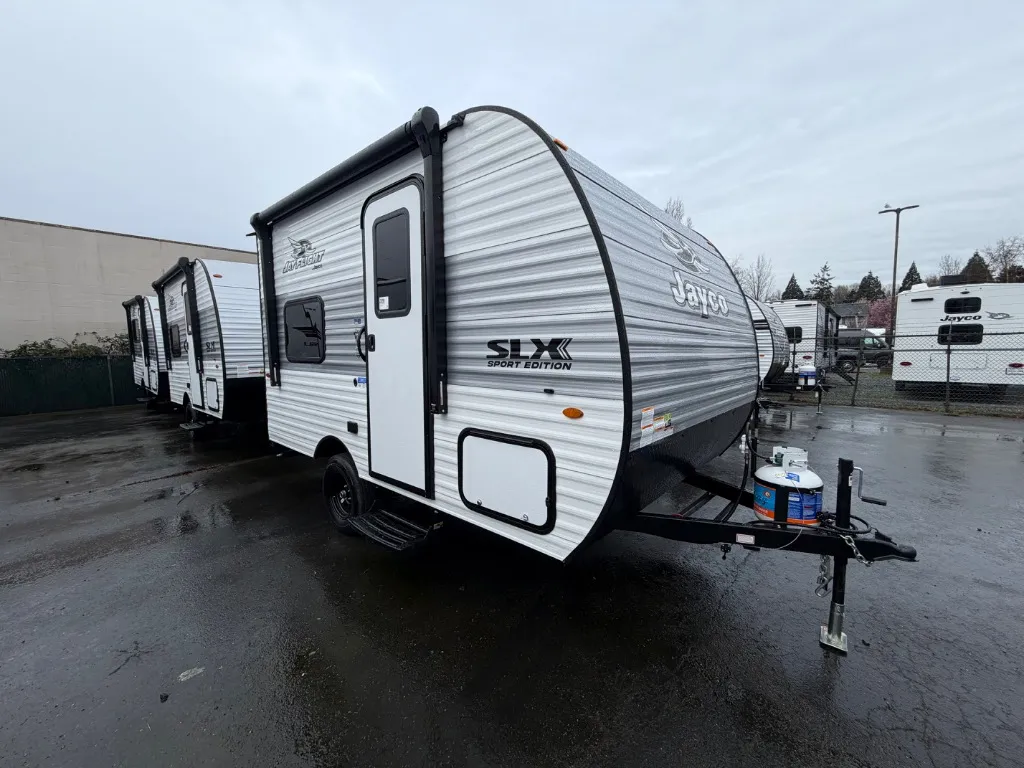
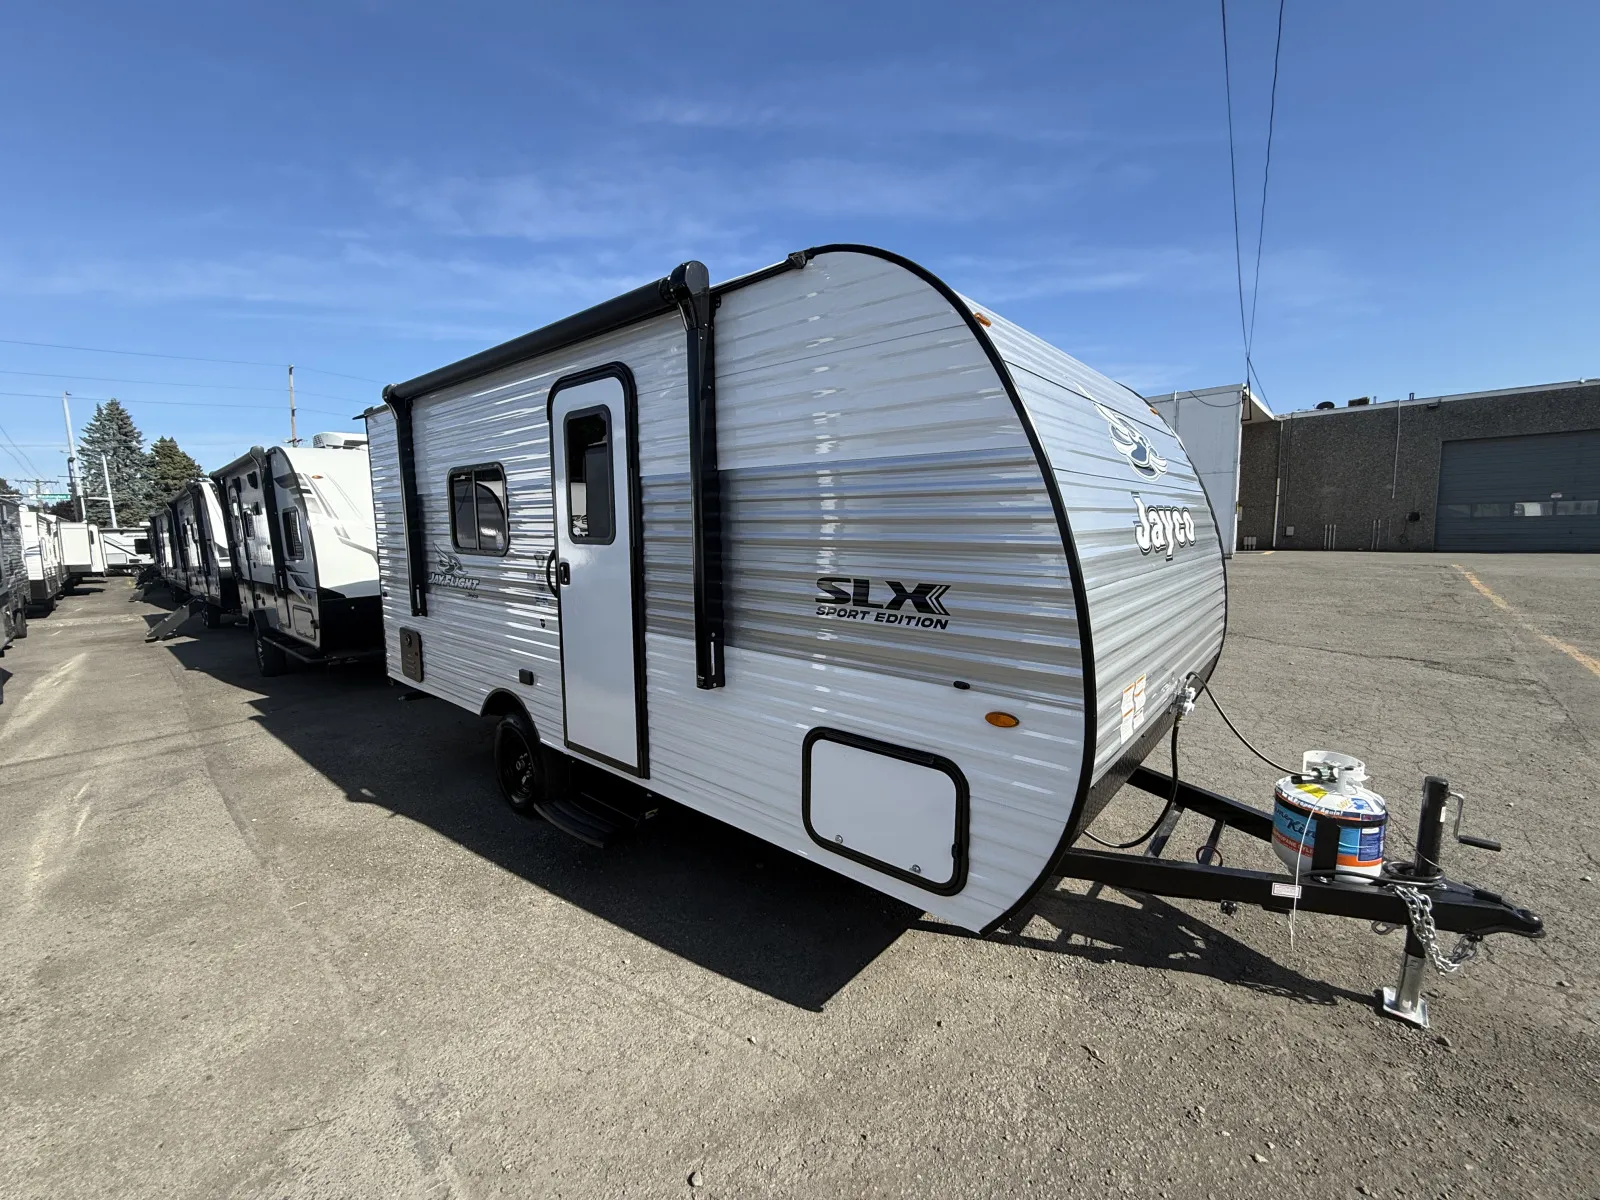
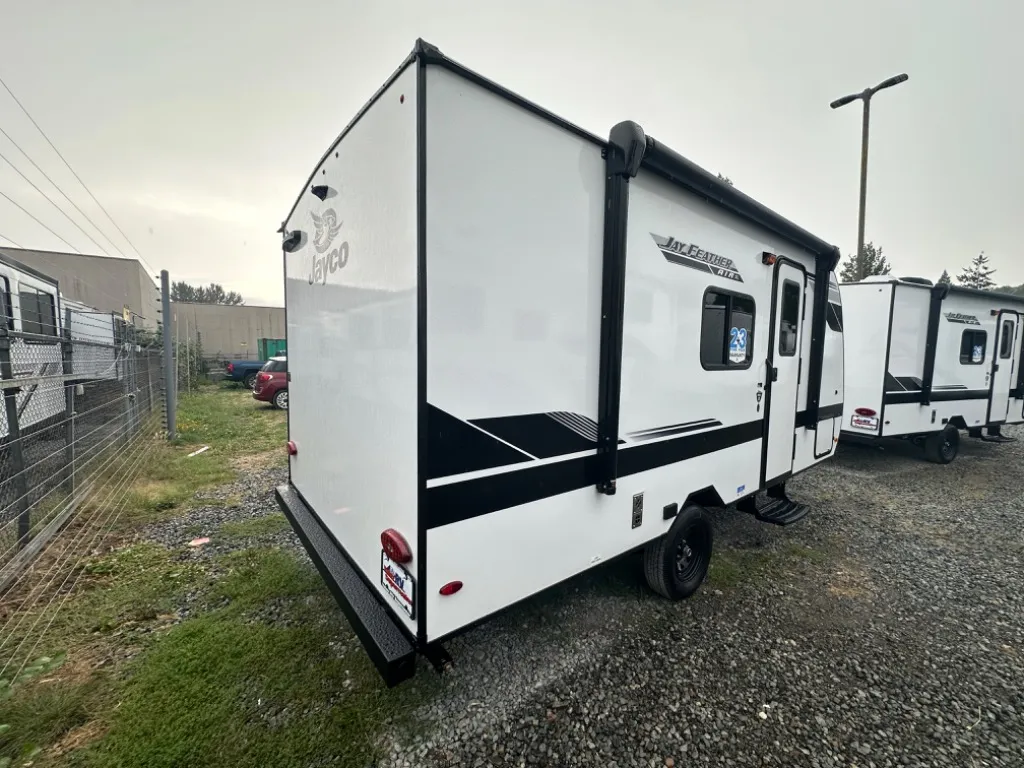
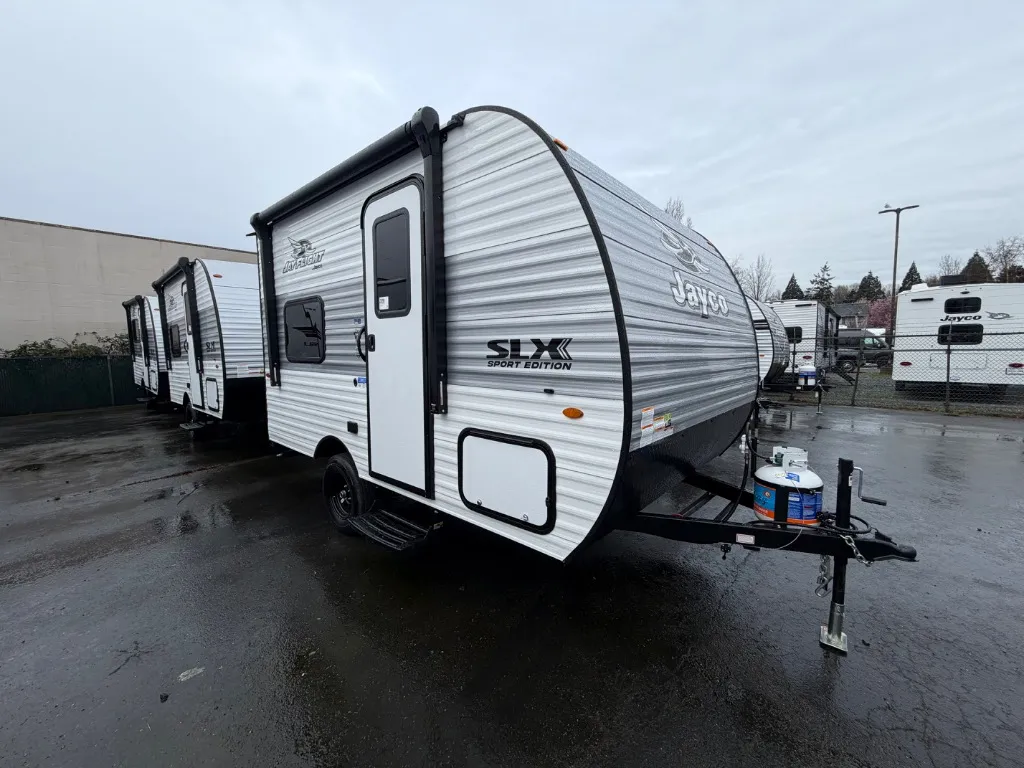
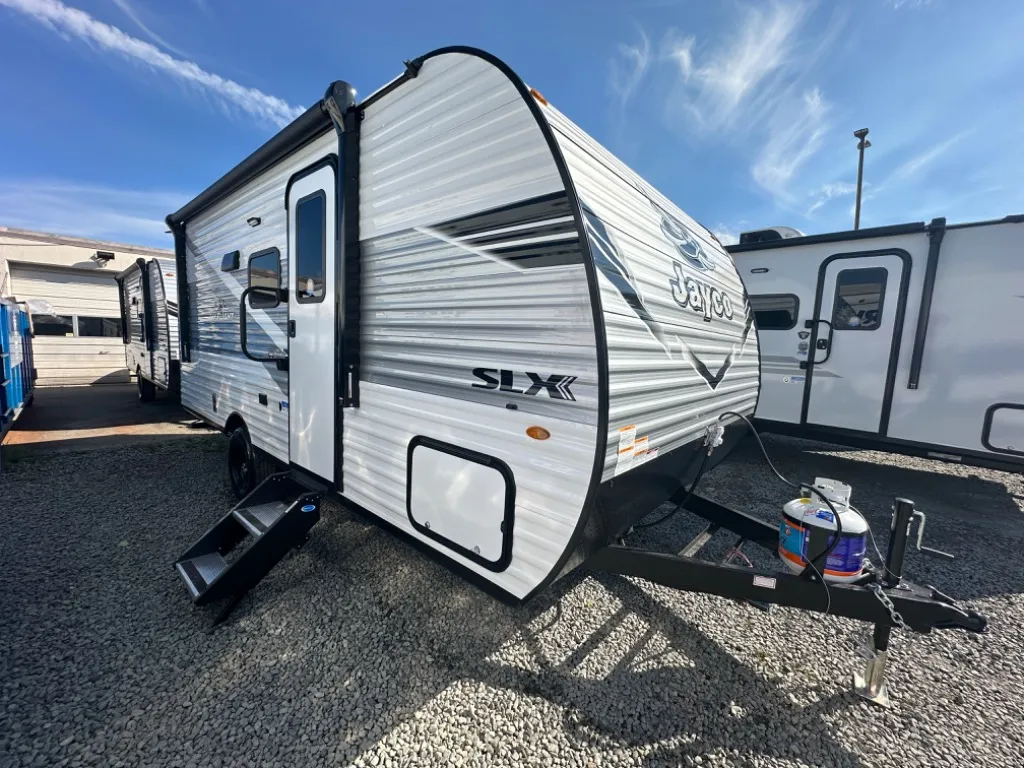
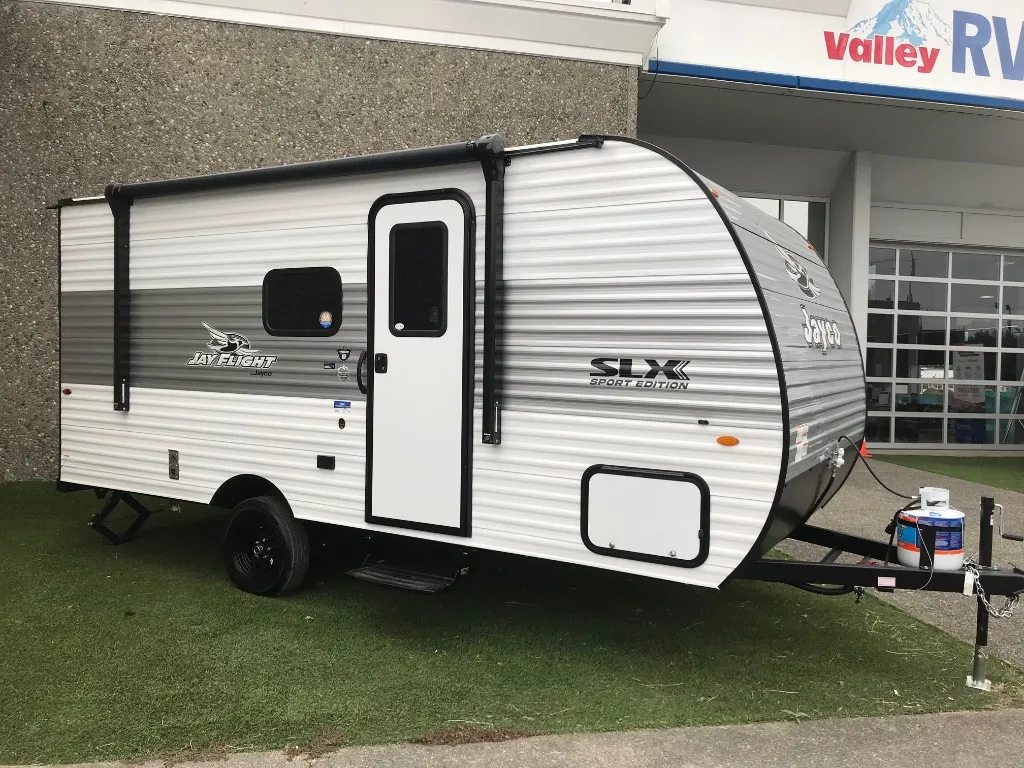
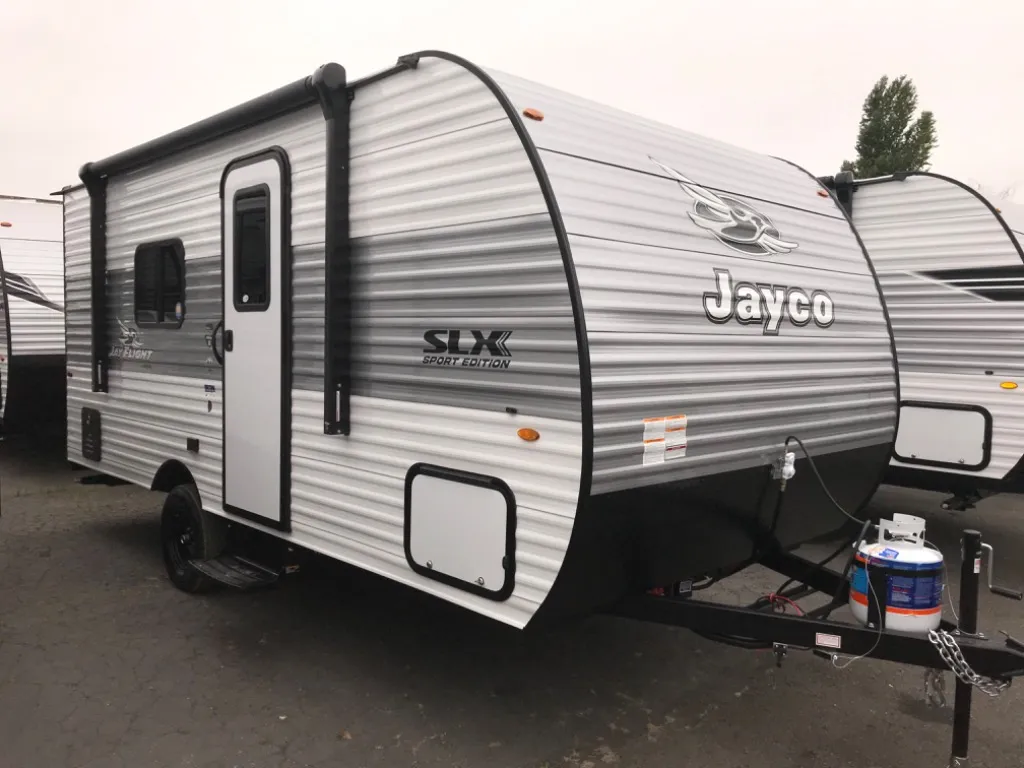
Jayco Jay-Flight travel trailers and their relatives all share the same basic inspection logic: slides, seals, the leveling system underneath, and the appliances inside. The floorplan changes from model to model, but the checklist underneath never really does.
What's the Plan at a Glance?
The whole walk-around runs about 90 minutes if you work through it methodically, and you'll catch the cheap fixes now instead of the expensive ones once winter has had its way. The table below lays out what you're covering and when each check matters most.
| System | What to Check | Best Timing | Tool You'll Want |
|---|---|---|---|
| Slide-outs (mechanical) | Rail condition, motor noise, travel smoothness | Before each trip + annually | Flashlight, owner's manual |
| Slide seals | Cracks, compression, debris, seal conditioner | At least twice per year; now (September) | Soft cloth, RV rubber seal conditioner |
| Leveling system | Jack legs, fluid level (hydraulic), corrosion, battery | Before storage; after rough roads | Flashlight, hydraulic fluid if equipped |
| Appliances | Furnace, water heater, fridge, propane connections | Before and after storage season | Soapy water, compressed air |
Read your Jayco owner's manual alongside this checklist. Every model carries its own system-specific notes that override what's here, especially on slide lubrication.
Slide-Outs: What the Mechanism Is Actually Telling You
Extend each slide fully and stand beside it while the motor runs, because the sound the mechanism makes is your first and best diagnostic on the whole rig. A clean rack-and-pinion system moves with a low, even hum. Grinding or stuttering means something's wrong. Check the rail for debris, look for bent mounting brackets, and listen for whether the noise shifts as the slide reaches full extension.
Once it's extended, get underneath with a flashlight (a few seconds on your knees) and look at the rail system. Check the bolts and brackets for looseness. If your rig runs a Lippert Schwintek in-wall system, note that Lippert's documentation states this system requires no rail lubrication at all. Grease on a Schwintek is one of the mistakes our service team ends up correcting. Rack-and-pinion slides do need lubrication, though you'll want a dry lubricant. Skip WD-40, which is a solvent and attracts grit. Check your manual for the specific call.
Jayco Eagle fifth wheels with large dual slides follow the same logic, just doubled. Inspect each slide on its own, since one can develop a problem the other doesn't share.
Before you retract anything, brush the slide-out roof clear of debris. Leaves and fir needles pile up there. Shove them into the seal on retraction and you'll speed up wear without ever noticing.
Seals: The System That Actually Keeps Washington's Rain Out
Jayco Jay-Feather lightweight trailers carry the same seal architecture as any Jayco, with wipers on the inside and compression seals around the outside perimeter, and both matter more than they're given credit for once the rain sets in. Walk the perimeter of each extended slide and press the rubber seal gently with two fingers. It should compress and spring right back. Hard, cracked, or flattened spots have lost the elasticity a weather barrier needs.
Look for any section that's pulled away from the wall, which is the failure mode behind hidden interior leaks. On a PNW rig sitting through October to April of near-constant damp, a seal gap only 3mm wide can wick moisture into the wall framing for months before you catch it. Water that gets in through a failed seal runs straight into the wooden framing inside that wall cavity, and you won't see it. By the time a soft floor spot shows up, the repair is deep and costly.
Apply an RV-specific rubber seal conditioner at least twice a year (September before the wet season, April after it). Steer clear of petroleum-based products and Armor All, which degrade rubber over time. Products without petroleum distillates, like dedicated RV seal conditioners, are what you want. KOA's published slide maintenance guidance calls for at least three conditioner treatments per year for rigs that travel frequently. The conditioning is tedious work, and there's no getting around it.
Schedule a Pre-Storage Service Check
Leveling Systems: What to Look for Underneath
The leveling system is the dull, unglamorous part of the walk-around, and it's also where Pacific Northwest conditions do their quietest damage. Moisture corrodes electrical connections and eats away at the seals in hydraulic components over time.
For hydraulic systems: Check the fluid level in the reservoir. Clear red fluid means you're fine. If it looks milky or pink and murky, that discoloration is telling you moisture has gotten in. Drain and replace it. Inspect the hoses and cylinders for wet spots or staining that points to a slow leak. Lippert recommends cleaning all power-unit electrical connections annually and treating corrosion with electrical contact cleaner.
For electric scissor jacks: Inspect the pivot points for rust and check that the arms aren't binding. Lubricate the pivot points with silicone spray. Keep petroleum-based grease away from them. Make sure no wiring hangs low enough to catch on road debris. A weak house battery is the most common reason electric jacks act up, so start with the battery before you blame the jacks.
Both types: Clean road grit off the jack legs after every trip. It takes three minutes and heads off the abrasion that shortens the life of a jack. Extend and retract the jacks at least once during storage so the seals and moving parts don't stiffen up.
Never extend the jacks on soft ground without proper pads. Sink on one side and you'll overload that jack and bend the mounting structure over time.
Appliances: Run Everything Before the Season Ends
The aim in September is to run every appliance through a full cycle while service appointments are still easy to book, so a failure gives you weeks to fix it instead of leaving you stuck. A furnace that won't light in November means a cold rig and a weeks-long service wait.
Furnace: Run it through a full heating cycle. Listen for the proper ignition sequence, a brief delay, then the click of the ignitor, then steady heat. Check the exterior intake and exhaust vents for debris, spider webs, or anything blocking airflow. A blocked furnace exhaust pushes carbon monoxide back into the living space, and that's a safety issue, not a maintenance preference.
Water heater: Run it on both gas and electric modes if your unit is dual-fuel. Inspect the burner tube for spider webs and soot buildup, and a can of compressed air clears that out fast. Check the anode rod once a year and replace it when it's corroded past about 75% of its surface area. The anode rod is what protects the tank from rust.
Refrigerator: Test it on both LP and electric modes. On absorption units, open the exterior access panel and look for yellow residue around the cooling unit. That residue is an ammonia stain, and it's a sign the cooling unit has failed. Also check the exterior vent for bird nests or webs, which are a known fire hazard on LP mode.
Propane connections: Brush soapy water onto the regulator connections and fittings. Steady bubbles mean a leak. No bubbles, no leak. Check the LP detector inside the rig (it should sit within 12 inches of the floor). LP detectors have a 5-to-7-year lifespan, so you'll want to check the manufacture date on the back. An expired detector is a silent gap in your safety system.
LP/propane detector and CO detector: Both have expiration dates. Check them, and replace them once they're past date. The check takes two minutes.
Getting the Rig Ready to Sit
Our service team in Kent can walk through any of these systems with you (especially if the leveling jacks are hydraulic, if a slide is hesitating, or if an appliance hasn't been serviced in a few years). Walk-arounds are faster when you know what you're looking for, and they're more reliable when a technician confirms what you found.
The PNW wet season is long, and there's no talking it out of that. A rig that goes into it with conditioned seals, clean jack legs, and appliances that fired correctly in September is a rig that comes out of it ready to head toward Mount Rainier or the Olympic Peninsula the first weekend the weather cooperates.
The payoff is simple. You'll get more camping next season, and a lot less repair scheduling come March.